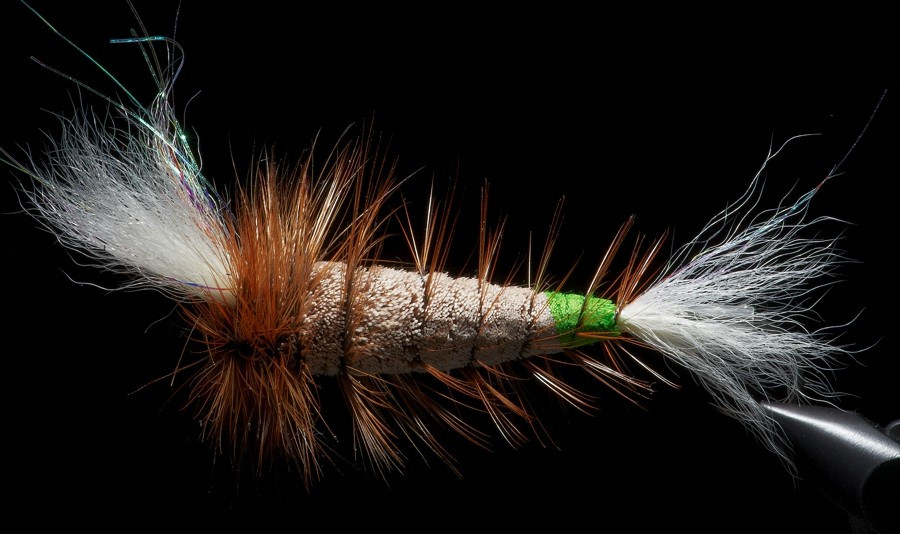
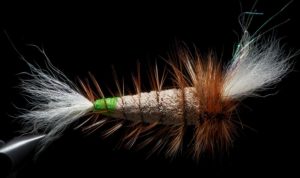
Killer Whisker tied on Tube : a more dense alternative to the Bomber salmon fly
Don’t tie your Killer Whisker on a long shank hook
A fly like the killer Whisker with its long bulky body is a first-class case of a fly that – NEWER – should be tied on a long shank hook – but ideally on a plastic tube – The Leverage factor – The weight issue – The missing exposure of the hook – The problems with big flesh wounds in the mouth of C&R salmon…all ads up
Doing the Tube Killer Whisker
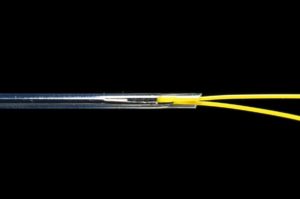
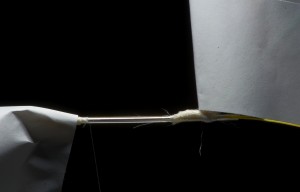
Doing the Tube Killer Whisker Here I have fixed a 1,8 mm. tube on a tube fly needle. As this Tube Killer Whisker is big I will need to apply extra force when tying it, therefore I have put a piece of mono in the eye of the needle. This will help to wedge the tube on the needle.
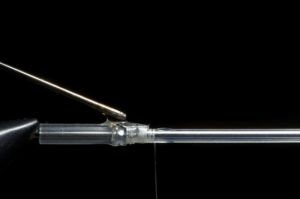
Add fly tying cement, super glue or lacquer to fixate the tie-down on the hookguard.
The Tube Killer Whisker has a split wing
Wings of calf´s tail is tied in – split and set to tilt slightly forward. Strands of Mylar is added. The Mylare will aide you to see the fly out on the river. Add drops of lacquer to the tie down
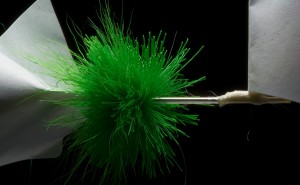
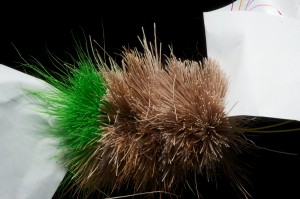
Ad a section of green deer hair. The Tube Killer Whisker can also be done with a all-natural brown body. We use Crystal Fireline 0,04 millimetre as tying thread. We also use a length of this particular thread as rib.
Cut body into shape. Tie in hackles: The body hackle – We strip of one side to get a palmer hackle that is not to dense. We need a heavy front hackle section so we tie in 3 – 5 depending on the quality. We use a light brown coch-y-bonddu feathers
We also do more dens versions of the Tube Killer Whisker
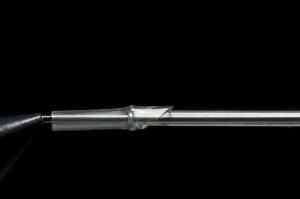
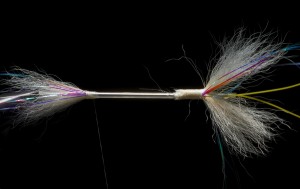
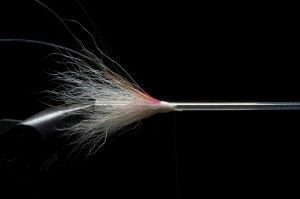
The tail of The Tube Killer Whisker is white → calf’s hair equally distributed around the tube – Note! The tie-down of the tail is done in front of the tie-down of the hook guard, to prevent material clumping up in the rear part of the fly – Material that eventually could make it difficult to create a well proportioned deer hair body. Add a few strands of Mylar – A few drops of lacquer to the tie down
Adding masking tape to wing and tail is a good idea if your tiered of cutting of those precious Mylar strands and calf tail hairs. Don’t use to sticky tape…It will just end in tears later
Add further 3/4 sections of natural brown deer hair.
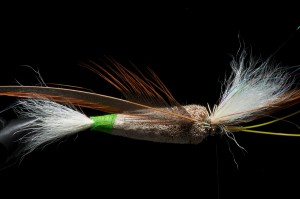
The freshly spawned Tube Killer Whisker
Run body hackle down through the deer hair. Run the Fireline rib up through the palmer hackle. Wind front hackles and fix everyone securely, before cutting off any excess tubing. End the project with a drop of super-glue to the head of the fly – Add a short shank quality hook like the Owner Chinu 1/0 single hook fitted on this Tube Killer Whisker.

